Take Care of Your Car, and You’ll take Care of Your Wallet
Issue 7 • Engine & Transmission Tips Vehicle Maintenance You Can Do! Maybe you’re a new teen driver, with a new-to-you vehicle, or perhaps you
Maybe you’re a new teen driver, with a new-to-you vehicle, or perhaps you just want to know what maintenance you can do yourself (DIY) that will save you money. And doing some of these simple tasks will definitely save you bank. Think about it, even for an average garage to change your air filter is going to cost an hour of service time, (an average of $125,) plus the non-discounted cost of the filter, let’s estimate $25. If you don’t mind getting a little dirty, this 30-minute task could cost you just $20, a real savings of $130!
Outlined below, in order of difficulty from the super-simple to the “maybe a mechanic should do this” are the most common maintenance tasks a car or truck owner can tackle themselves.
As a side note, there are many MORE owner-accessible maintenance items, like differential fluid, the Oxygen (02) Sensor, and of course, the various bulbs that go out from time to time. For this article, we’re focusing on the items we feel you can tackle yourself.
One additional note. Your vehicle’s Operation Manual is going to give you a lot of the most accurate information about consumables like gas octane and motor oil viscosity. If you don’t have the original manual, it is absolutely available on the Internet for free. (DO NOT pay a site like ManuaLib for anything. Ever.) And if you’re OEM Manual doesn’t specify what shocks your vehicle needs, most automotive parts sites have “selection tools” that will tell you the correct parts when you enter the year, make, and model of your ride.
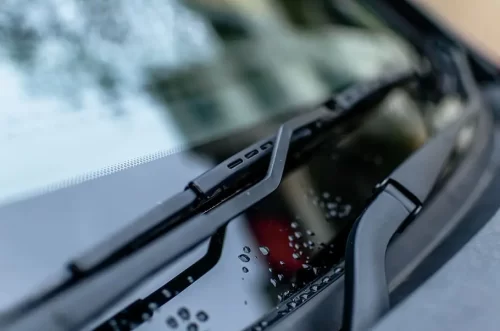 If you’re paying anyone to change your wiper blades, shame on you. Regardless of your gender, this is a very easy task that takes about 30 minutes the first time, and more like 10 every time after. The only circumstance where you’ll get roped into having someone else do it is during your annual inspection, where they won’t pass your vehicle without doing the work.
DIY Difficulty: Similar to tying shoelaces. It may take a bit to get it right, but then it’s a breeze.
Fraser TIP: Put a reminder in your phone’s calendar for the month before your inspection is due, and save a bunch of money by changing your wiper blades yourself.
Yep, your vehicle’s engine has an air filter much like the one on your furnace. It protects the engine from debris damage, as the air intake is one of the only two open entry points for such hazards. (The other is the gas tank.) Your engine air filter should be changed about every 15,000 miles, but as with everything these days, the better quality item you install, the longer it will likely last before requiring replacement.
DIY Difficulty: Depending on the vehicle this could be a 2 out of 10 or a 5 out of ten. Most engines have easy-to-access air filter locations and latches. Note: Be sure to clean the plastic and rubber seals around the air filter housing before you re-secure it. Being airtight is critical for proper operation.
Fraser TIP: There is a product called 404 Rubber Protectant, and Fraser recommends this for every rubber contact point on your vehicle, including your wiper blades. It’s a fantastic product that adds life to these parts by protecting the rubber from premature breakdown.
 Yep, your vehicle probably has a cabin air filter as well. And, as its name suggests, the cabin air filter keeps the passengers’ air free of typical particulate matter like pollen and road dust. Will it keep the skunk smell out? Nope. But, depending on the quality of the filter installed, it will protect allergy suffers when driving, and ease symptoms.
The time to change your cabin air filter is in late winter, just before Spring. You may also want to change it again in the height of the Summer, but checking it should visually indicate the need for that second replacement.
DIY Difficulty: Again, depending on where the filter is located, this ranges from easy to medium easy.
Fraser TIP: This is more of a hack than a tip. Cabin air filter prices are wildly overpriced. Depending on the type of filter your vehicle takes, and your DIY skills, you may be able to take a super-high-quality furnace filter, like Filtrete, and cut sections to fit in the plastic housing of a “spent” cabin air filter. This writer has a Toyota FJ Cruiser, and fitting high-quality allergen-trapping filter snips into the plastic cabin filter enclosure has made a noticeable improvement in Spring and Summer driving pleasure.
Nothing sucks more than going out to your car on a cold morning, late for work, and the car won’t start. You say to yourself, “It was fine yesterday.” But batteries are susceptible to external influences like the cold, obvious, and corrosion around the battery terminals.
On most vehicles, there is a dedicated dashboard gauge for the vehicle’s battery and alternator status. When you turn the key, before starting, you’ll see the readiness of the battery. Once started, the gauge shows the charge being provided by the alternator. If the engine is sluggish in starting, that’s a tell-tale sign to test, and possibly replace, your battery right away.
DIY Difficulty: Not terribly hard, but can be messy to test the chemicals in the battery (if it’s not a permanently sealed type) and the battery is heavy.
Fraser TIP: Since automotive parts stores live to sell you stuff, we recommend going online and finding the right battery for your vehicle, then finding a great price at a local auto parts store. Go there and express that you think your battery is failing. They will likely check the terminals and chemicals for free. If they determine it’s time for a new one, you’ll already have your choice (and price) picked out from their website.
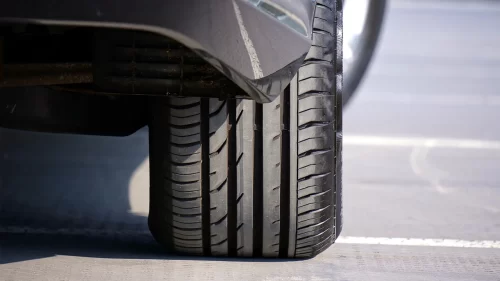
Vehicle tire pressure can really affect mileage, and improper inflation could cause premature wear, as well as potential dangers in inclement weather. The rule of thumb is to actually, physically check your tires’ air pressure whenever there is a change in the seasonal weather. When it starts to turn cold, you’ll probably need to add air to your tires. When the weather warms up, letting a little out might be needed.
Rotating your tires saves wear caused by the front wheels’ steering, and often acceleration. Most commonly the tires are switched from front to back at the same time, but crossing them over is fine, and it should be done twice a year or every 6,000 miles.
Buying new tires happens on an as-needed basis, and can be an artform. There are many types of tires, with different traction and weather rating, so you definitely want to check the status of your treads and tackle this task BEFORE inspection time, or you’re going to pay a premium.
DIY Difficulty: Checking the air pressure, 1 out of 10. Rotating the tires is 4 out of 10, but you’ll need tools. Buying new tires is a task best left to the professionals.
Fraser TIP: You can find and buy the perfect tires for your vehicle online, and then have them delivered right to your mechanic. (Just like when you buy a remanufactured engine or transmission from Fraser.)
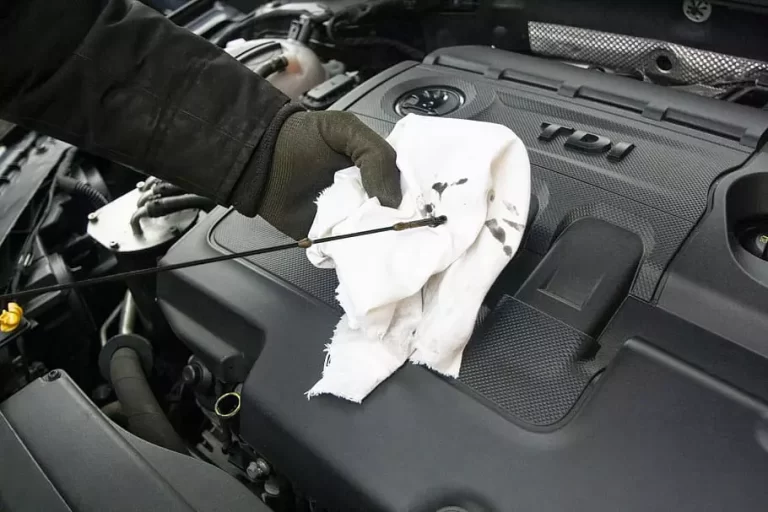
We can’t stress enough the importance of changing your engine oil and filter regularly. This is possibly the most critical, user-accessible maintenance task that can also save you money. The long and the short of it is motor oil keeps things running smoothly and the filter traps particles that have worked their way into the engine, from causing damage.
Most Auto Manufacturers recommend changing your oil every 3,000 miles. This is a VERY loose guideline nowadays. If you use 100% synthetic oil, that number is easily doubled. If you use a high-grade filter and even an oversized filter, you could reach 10,000 miles before needing a change.
DIY Difficulty: Maybe a 5 out of 10, but again, you’ll need tools. If your vehicle has a lot of clearance from the ground to the undercarriage, you may need nothing more than a wrench, a bucket, and some wriggling skills.
Fraser TIP: Start with the recommendations in your Operations Manual, then definitely read Fraser’s Engine Oils & Filters article for tips on choosing the best for your vehicle.
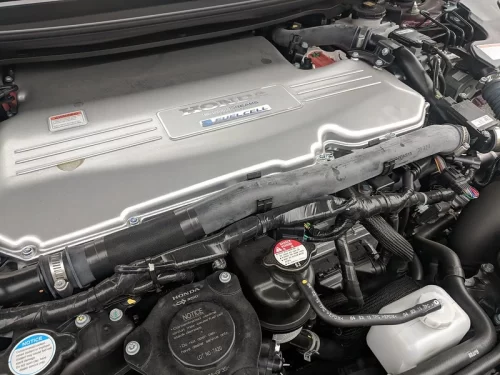
Did you know your radiator is filled with a mixture of anti-freeze fluid and water? Did you know you have a radiator in your vehicle? The radiator is right in front of the engine, and it is used to cool the internal parts of the engine by circulating cold coolant into the hot engine block, drawing the heat away as warm water for the next recirculation. Running throughout the radiator, various hoses, and engine passageways is a mixture of water and anti-freeze commonly referred to as the coolant fluid.
Often confused about its role, engine coolant serves two purposes. The primary purpose is to keep the cooling system from overheating. If you’ve ever heard or seen someone unlock a radiator cap when their engine is still hot, there is often a loud whistling sound accompanied by an explosive expulsion of near-boiling steam.
The second, lesser-known purpose is to prevent the engine from freezing in cold temperatures. Just like that old copper pipe in the basement that burst during the Winter freeze, your engine parts are susceptible to freezing as well, and with dire consequences. Anti-freeze coolant is designed to stay liquid, even as a mixture with water, to sub-zero temperatures.
DIY Difficulty: Medium. You have to drain the old fluid out. Add new fluid. Run the engine. Check the level and do it all again.
Fraser TIP: NEVER ever loosen your radiator cap until you are sure your engine is cool. Why? Because the cooling system is pressurized. This lets the temperature of the fluid/water mix reach higher temperatures than the boiling point without converting to steam.
The fuel filter prevents contaminants like dust, dirt, and rust in your gas tank from damaging your engine. Commonly the fuel filter is located along the fuel line near the gas tank on the undercarriage of your vehicle, or at the other end of the line, near the engine fuel intake under the hood.
In either case, changing the fuel filter is a smart way to ensure your fuel delivery is clean and not under a vacuum, (which is what happens if the fuel filter gets clogged.)
The average fuel filter lifespan is 30,000 to 50,000 miles. In newer cars, it’s even more.
DIY Difficulty: Generally recommended that a professional do this, as gas is fairly flammable.
Fraser TIP: Most fuel filters are transparent so you can actually see the level of contamination inside the filter. Regardless of where the filter is located, be sure to clean it off with a grease-cutting cleaner and inspect the filter. If it’s relatively clean, don’t spend the money to replace it and just check it again in six months.
Your brakes are the single most important engineering feature of your vehicle in the avoidance of an accident. You rely on your brakes and in this instance, we always recommend the finest products you can afford, and that you perform the maintenance more frequently than recommended, and certainly at the first sign of trouble.
Brake pads typically wear out faster than rotors or drums. These are direct-contact parts that create extreme friction and heat when in use. They are designed with tolerances and made of our premium materials, as things like warping, even minutely, are instantly perceptible, and often endangering.
The recommended change frequency for brake pads is every 40,000 miles, but this varies a lot. Most vehicle owners don’t even think about these parts until their car pulls to one side when braking, or makes a whistling sound when braking. The whistling is an intentional feature of brake pads and indicates that they are near their end of safe use and should be replaced.
DIY Difficulty: For the mechanically-minded, or someone who can remove the tire and rim, and comfortably disassemble and reassemble the parts of the wheel, we’d call this a 6 out of 10.
Fraser TIP: Let someone who’s regularly done this do the work.
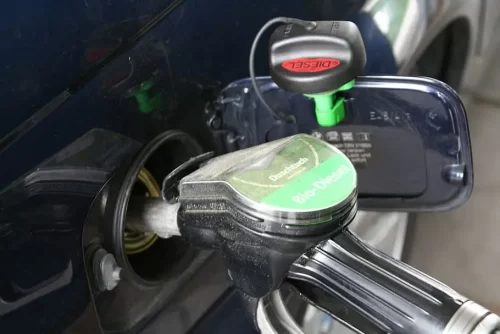
Believe it or not, that annoying Check Engine light will come on if you’re gas cap isn’t doing its job of regulating the pressure in your gas tank. And it actually does do that. If it’s a hot Summer day and you fill your tank with gas that stores several feet underground, it’s going to expand as it warms up. Your gas cap regulates the release of fumes, so changing it every few years is better than taking your car into the shop for a “Check Engine” light diagnostic just to find out it was the gas cap… and then getting a $145 bill. (True story. Ugh!)
DIY Difficulty: Approved for toddlers. (Just kidding!)
Fraser TIP: If your “check engine” light comes on, take your vehicle to an auto parts store and ask them to tell you what it’s for, which they will do for free, instead of finding out from the mechanic when you’re going to get charged either way.

Issue 7 • Engine & Transmission Tips Vehicle Maintenance You Can Do! Maybe you’re a new teen driver, with a new-to-you vehicle, or perhaps you

88 Bad-Ass Custom Vehicles, Half of Which Were Destroyed This Award-Winning Film Took Action To A New Level with All Real Stunts Mad Max: Fury
Issue 2 • Engine & Transmission Tip An Introduction to Engines – Fraser-Style The average automobile owner knows there is an engine under their hood,

The Ford Excursion was a behemoth of an SUV, dominating the roads from 2000 to 2005. With its imposing size and Super Duty truck underpinnings,
Issue 10 • Engine & Transmission Tips First, What exactly is Engine Tuning? Engine tuning adjusts the performance of your vehicle’s engine and drivetrain by
Issue 11 • Engine & Transmission Tips No great story ever started with “I remember when my alternator failed.” Inside your engine is something called