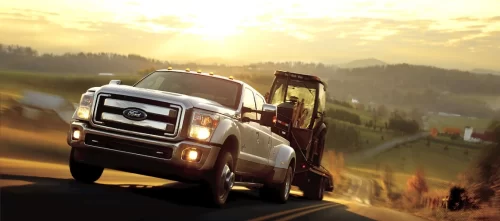
Performance Tuning for the Ford 6.8L Engine
Ford Motor Company has the powerful workhorse 6.8L V10 engine, found in a wide range of vehicles from Super Duty trucks to RVs. It’s renowned

Waxing your car can be as easy as the spray you get at the end of an automatic car wash, or as thorough as what we’re going to share here. You decide.
Our opinion is that you really only need to wax your car twice a year. The first one would be in late Spring and should be the culmination of a great interior and exterior cleaning. So your ride is looking great for the Summer. The second waxing should be in early Fall when the leaves just start turning. This is a prepare your car for the harsh coming months, and while the wax will certainly do that, we also recommend some lower panel and undercarriage protection as well.
But, the first thing you should really do, is read our feature on how to wash your car: Issue 23 – How To Wash Your Car Like A Pro, and then come back here.
Great! You’re back! Picking up where we left off, this is a smart time to address any scratches or paint chips on your car. And, amazingly we’ve done an article on that as well, which you can read right here: Issue 22 – How To Touch Up Your Paint Like A Pro.
Phew! That was a lot of reading, and probably some slick video-watching as well.
We can’t say enough that your car should be as clean as it can be before you wax it. So, a thorough compounding with an orbital (oscillating) buffer and light buffing compound will take all the post-car wash residual gunk off your paint before you wax. On a technical note, an orbital buffer/polisher, also referred to as dual-action (DA), rotates in two directions, unlike a high-speed rotary buffer. The DA orbital buffer is perfect for home use and will be far less likely to “burn” your paint.
And just to be clear, there is a difference between compounding, polishing, and waxing your car. Compounding is significantly more abrasive, and the proper route when your paint hasn’t been cared for in a few years. Polishing is a much-lighter abrasive, and more of an imperfection filler or corrector, which can be applied by hand. Waxing is the sealer and protection for that newly-revived paint. This three-step process is more involved than a simple waxing, but the most common method for casual car care is polishing and then waxing.
If you’d like to know more about polishing vs compounding, and even wet-sanding, here’s a great video that details the exact difference in a comparison: When to Polish vs Compound vs Wetsand.
Amusingly, if you choose to compound, you still have to polish and wax. If your car’s paint isn’t so bad, try quality hand polishing first, (on a small area, like the rear lip of your trunk.) If you still see minute scratches or “spider webs” in direct sunlight, then amp up for the compound step, then polish, then wax.
If you really cannot, (or don’t want to,) compound or polish your car before waxing, try using a clay bar. Claying your car will definitely remove some of the gunk left on your paint, and while the least effective way to prep for wax, it is still better than just waxing alone.
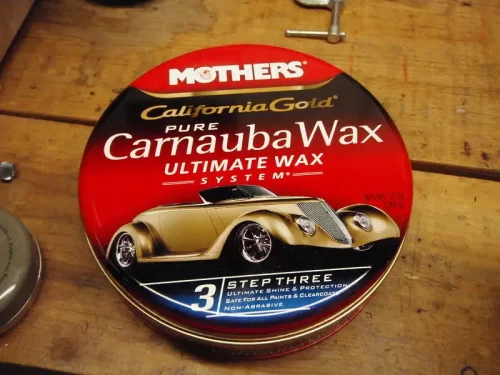 As you may know, car waxes come in two general types: natural Carnauba waxes and engineered synthetic waxes. But, growing in popularity is a third, spray-on, ceramic coating hybrid wax.
Carnauba-based waxes come in two grades: yellow and white. The yellow kind is pure plant extract, which achieves incredible shine and protection but is significantly more expensive. The white kind is more affordable as they are mixed with other waxes. These beautiful finishes are the top-of-the-pile, but only last a few months before they need to be stripped and reapplied.
Synthetic waxes are entirely engineered in a lab. They commonly contain chemicals that bond to your car’s paint and can last close to a year. They are more affordable and easier to apply, but they can’t match the shine of genuine wax.
Ceramic hybrid waxes are more of a sealant than a wax. The nano-ceramic coatings contain silica, which acts like a glass sealant, much the same as a new car’s clear coat.
Waxes are also available in three application forms: the original paste in a can, liquids, and sprays.
Paste wax is the original and favorite of car enthusiasts who are waxing directly on a color coat. They are available in different consistencies from hard to soft. The paste is the choice for control and ultimate results. It is also the choice of people who have the time to baby their cars.
Liquid waxes squirt out of a bottle and are easier to apply because of their consistency. They are smoother, and typically all-synthetic. Liquids can be a challenge as they do dry faster, so you have to work in smaller sections. And with synthetics, you need to be careful around trim parts, as they can leave a murky-white haze if contacted and not wiped off quickly.
Spray wax is like the coating you get at the end of the automatic car wash. You saw it go on, but it’s likely to last until the next downpour. If you’re taking the boss out to lunch or want to impress a friend, spray-and-go gives passable temporary results.
Wear gloves. It might seem counter-productive, but wearing gloves protects your hands and the finish you just prepared for wax.
Don’t wax in direct sun. Cool surfaces accept the wax better. Our pro tip, use a sun-shade umbrella in a sturdy weighted base and keep it over the area you’re working on. The car, and you, will keep cool.
Tape off the trim you don’t want to get waxed on. (It’s easier than scrubbing the wax off the trim the next day.)
Apply wax, natural or synthetic, in thin light layers. Two or even three will produce better results than one thick application. (And, you’ll likely cover spots that you may have missed in the initial coat.)
For paste and liquids, use an applicator sponge designed specifically for applying car finishes. Dampen the sponge, and place four dots of wax on the applicator at 12, 3, 6, and 9 o’clock. Apply by hand in tight circular motions or use a low-speed orbital buffer.
Work in small sections. Our pro tip is to apply your wax on a small area and let it dry completely. But instead of waiting for that one section, move to another section and apply your wax there. When complete check the first section, if it’s dry, buff out accordingly. If it’s not, apply wax to a third section, and then go back and check the first again. This is why working in small sections can be highly effective. And, aside from the benefits of being able to see what you’ve done, some waxes become far more difficult to remove if they are left to “over-dry”. So, as soon as the wax hazes over, you’re good to start polishing it off.
Use an orbital buffer to apply and remove the wax. Electric or air-powered orbital polishers are an arm-saver and can be used to apply wax and remove (polish) it. You’ll simply be changing back and forth from a foam wax applicator to a soft fur or microfiber cloth buffing pad.
FRASER PRO TIP: Have extra pads, and clean them often. The dry wax your buff off goes somewhere, and that place is trapped in your buffing pad. You may notice, if you’re buffing by hand, the work becomes harder. That’s because the wax embedded in your pad or cloth is dragging on the wax you’re trying to remove. This is worse on rotary buffers because you may not notice, and the excess wax buildup could be creating the very swirl marks you’re trying to remove. It’s best to get a buffing/polishing pad spur cleaner, as well as several extra pads. Having a set of pads you know will allow you to wax the car in one fell-swoop will alleviate the aggravation of having to stop and clean the only pad you have, over and over.
Stay away from traditional rotary polishers unless you know what you’re doing. The large 7” to 9” pads can cut application and buffing time in half, but the caveat is you’re more likely to damage your paint than add a coating of protection. The difference between a slow-rotating orbital buffer and a high-speed rotary buffer is the latter uses heat to drive the wax into the pores of the car’s paint. But that same heat can burn the wax and possibly your paint.
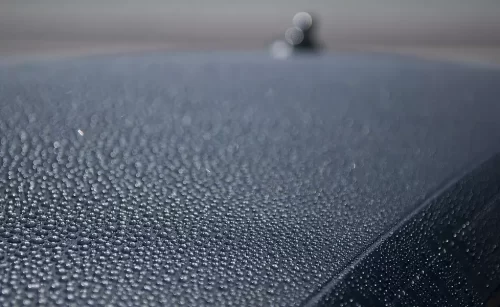 Don’t wax your car while it’s still wet – A dampened wax applicator sponge helps the wax leave the sponge and adhere to the car. But, that same water, in an overabundance on the car’s surface, will prevent the wax from sticking to the car as well.
Don’t reuse uncleaned applicators or towels – Seriously. When you’re done detailing your car, clean up after yourself and prepare your tools for next time. You wouldn’t throw a lunch container and thermos in your car and reuse it the next day, as is, would you? Ewww. Really, it’s best to use a new applicator sponge and high-quality microfiber towels.
Don’t use paper towels either – For goodness sake, if you’re going to apply or buff the was off your car with a paper town, just go straight to using copier paper. They’re about the same in abrasiveness.
Don’t apply too much wax – Whatever else you read, applying one thick coat of wax does not yield the same results as applying two or three thin coats. One-coat wonders are just wasting wax.

Ford Motor Company has the powerful workhorse 6.8L V10 engine, found in a wide range of vehicles from Super Duty trucks to RVs. It’s renowned
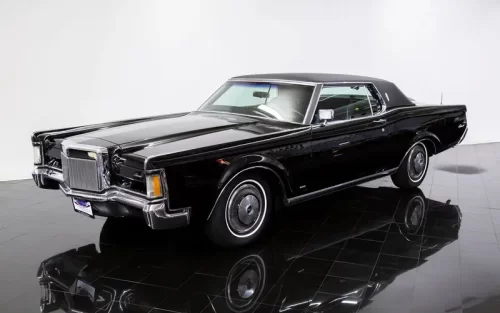
What EVIL Drives! Still in the Top 100 “Most Enjoyable Bad Movies Ever Made”! 1971 Lincoln Continental Mark III The release date was Friday the
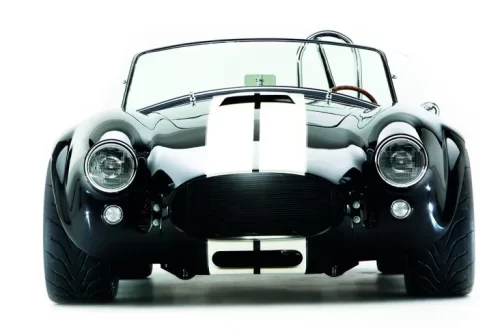
Part 2 – The Factory Five Mk4 Roadster This kit car is a dead-on replicate of a 1965 Shelby Cobra Project: 1965 Shelby Cobra Replica

In this article series, we’re going to talk about the heart and soul of Ford’s off-road dominance—their engines, with a special focus on the formidable

88 Bad-Ass Custom Vehicles, Half of Which Were Destroyed This Award-Winning Film Took Action To A New Level with All Real Stunts Mad Max: Fury
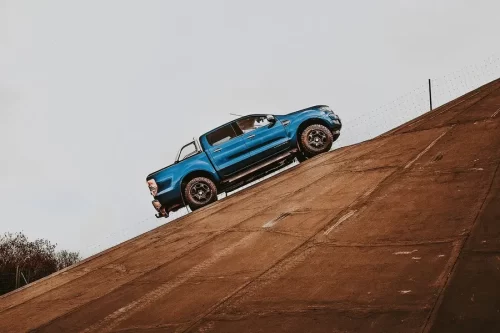
Your Ford Ranger is more than just a vehicle. It’s a companion for both the everyday city drive and the adventurous off-road excursion. To keep