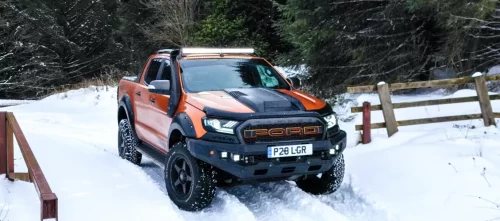
Exploring The Off-Road Dominance of Fords Engines
In this article series, we’re going to talk about the heart and soul of Ford’s off-road dominance—their engines, with a special focus on the formidable

If you have a new car, you’re covered with undercarriage protection direct from the factory, so you really don’t need to add undercoating. Some auto manufacturers will even void their own factory corrosion-perforation warranty if the vehicle is undercoated by a third party, specifically meaning the dealership.
BUT, if you live in a harsh climate, additional undercoating or rust protection may be a necessity if you want to keep your vehicle for more than a few years.
Undercoating offers two types of protection. The first is to reduce corrosion, and the second is to dampen outside “road” noise. Each goal requires a different type of product. Just understand, applying undercoating to an older car can be detrimental if the surface isn’t prepared properly. Sealing rust under an undercoating gives it the opportunity to continue to corrode the metal it’s in contact with, so if you don’t want to bother preparing the underside of your vehicle, either get someone else to do it, (professionally), or move on.
This is an effective, short-term method of preventing damage caused by things like winter road salt. It is a thin, oil coating that can creep into microscopic spaces and displace moisture, the food for rust. These coatings need to be reapplied regularly.
Generally, this economical product involves spraying a tar-like substance on the surfaces on the underside of your vehicle. They are superior in adding sound-deadening to the undercarriage. This product dries over time and can be painted. It also maintains a reasonable amount of flexibility. But the areas to be covered MUST be cleaned, as any trapped rust will continue to corrode and expand under the coating. It is commonly recommended NOT to use rubberized undercoating as it traps moisture and promotes rust from within.
These products are solvent-based and both penetrate and seal. Their protection can span up to 15 years. They require less preparation, are more adept at stopping mild rust from progressing, and maintain flexibility over time, so they won’t crack or develop fissures where moisture can penetrate. But again, the surface to be coated must be free of rust because this is another moisture-trapping product.
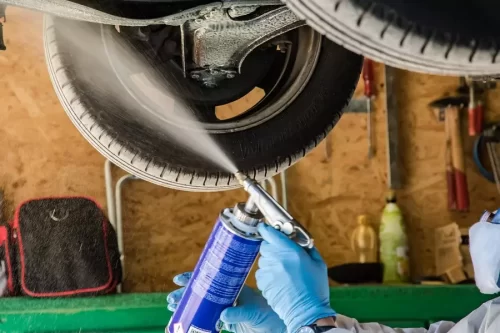
This product has similar properties to Wax-Based products but is less expensive and offers only about five years of protection. You also have to apply more coats, as the efficacy is increased with the thickness of the material. And it does eventually dry to the point of cracking so be prepared to re-coat it regularly. But as an oil-based coating, it will offer moisture-wicking properties when first applied.
Also known as Drip Oil Undercoating, this is a thin, oil-based spray that penetrates virtually every cavity of the vehicle. This is considered the most effective type of undercoating available. Drip or weep holes do need to be cleared, or sometimes drilled, as the product is designed to be sprayed inside door and fender cavities and be allowed to drip out as it coats everything. The upside is it is extremely effective and not overly expensive. The downside is you need to have it reapplied almost annually.
As the name implies, this product cures to a rock-hard coat offering a smooth finish and excellent chip protection. This product can also be color-coat painted, which wax, oil, and asphalt-based coatings cannot. This is more of a beautiful finish for firewalls and wheel wells of antique or vintage restored vehicles where the surface may be viewed by a judge or the public in general.
Clean the underside of your vehicle:
NOTE: We really don’t recommend doing this task yourself, as a professional will do a much better job.
 You will need the following:
Spread the drop cloths out on your driveway, lawn, or wherever, and understand that whatever undercoating you’ve chosen to use, will get all over the ground and you. And they are all caustic.
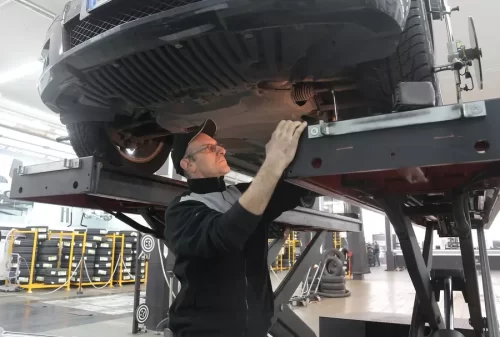
Get your ramps/lifts in place and jack up your car as high as is safely possible.
Tape with paper, all the surfaces you do not want overspray to reach. You may want to remove your wheels altogether and cover the exposed parts.
Prepare yourself with full-coverage clothing, gloves, and goggles. A baseball cap might also be advantageous.
As you spray your product, start as high up in the undercarriage as possible. Don’t linger with the spray, hoping it will drip down into crevasses unless it’s specifically a drip oil product. Light repeated coats from different angles will produce better results than trying to lay on one thick coat.
In closing, if you live in a harsh climate with lots of rain and snow, oil-based undercoating is your best bet. The only caveat is that it must be applied every year. Our customers in Canada know all about going to Krown Undercoating to get their Drip Oil aka Fluid Film undercoating applied every Fall. If you’ve got a vehicle you love, treat the underside as well, or better, than you treat the top side.

In this article series, we’re going to talk about the heart and soul of Ford’s off-road dominance—their engines, with a special focus on the formidable
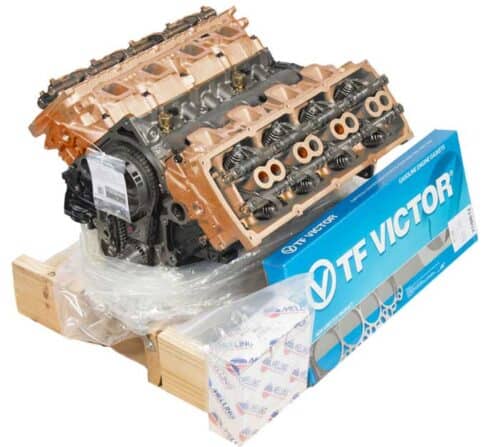
Issue 38 • Engine & Transmission Tips This is the Mopar 5.7L HEMI Magnum V-8 engine specifically remanufactured for Chrysler, Dodge, Jeep, and RAM vehicles
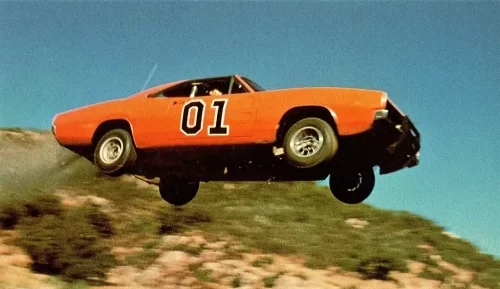
1969 Dodge Charger ENGINE SPECS for the GENERAL LEE:1969 Dodge Charger7.2 Liter RB V8 EngineRB (Raised Block), Produced from 1959-1979 (Chrysler)Estimated Brake-Horsepower Rating of 375
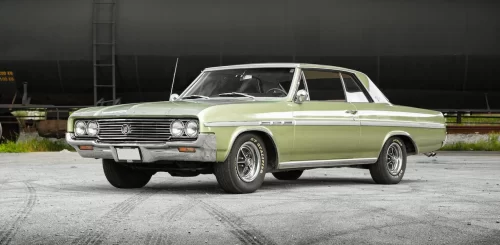
Starring a 1964 Buick Skylark Convertible that didn’t do it! Mint green? Positraction? Temptests? Who is this four-wheeled star? My Cousin Vinny is a 1992
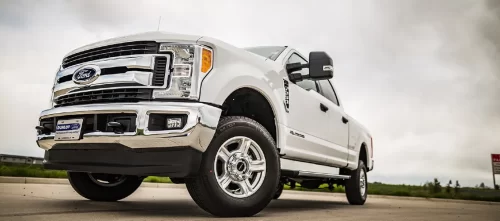
Hello there, truck enthusiasts and Ford loyalists! Fraser Engines here, ready to dive into the world of trucks that embody the American spirit—the Ford Super
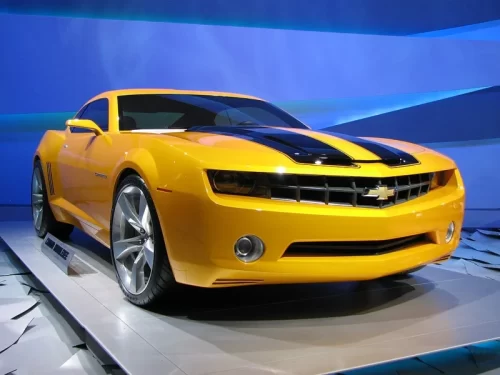
BumbleBee from Transformers… Chevy Camaro Autobot Transforms! From the beat-up 1977 Chevrolet Camaro in the first Transformers, to the fully-customized 2016 model in The Last Knight, this