FAST FACTS Vol. 1, Issue 9 – Wayne’s World Mirthmobile
Party On! in Garth’s famous 1976 AMC Pacer, the Mirthmobile In 1992 Wayne’s World took theaters by storm. This is the story of the unsung

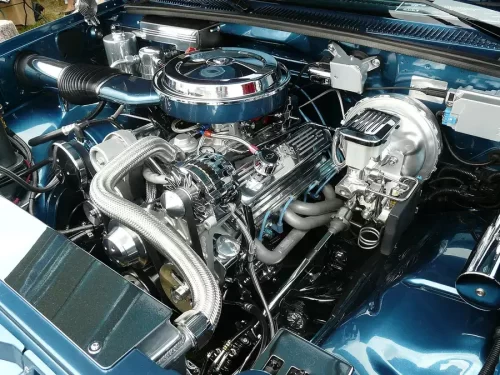
But, are you prepared to get your new baby properly installed? You’ve got a certified mechanic with a strong track record? Super! But just because you’re using a certified mechanic to install your Fraser Remanufactured Engine, is no excuse not to be educated. This Fraser Essential Engine Installation Checklist highlights the items to be addressed when replacing an engine. NOTE: Not every installer will do everything on this checklist. It is up to you if you sense they are being evasive or generally annoyed with your questions. There is nothing on this list that a true professional would shrug off. After all, it is your car and your money.

The installer should…
The installer may consider completely replacing the following items at the time of the engine installation, depending on their condition and age. They may be included in the price quoted to you, but often they are charged as an additional line item:
Consumable items are needed at the time of installation, which may be an additional, (non-included), charge to you, so check with your installer:
*Even though the oil in your new engine needs to be changed after the first 500 miles, and then again after the first 1,000 miles, Fraser highly recommends using 100% synthetic oil for the entire life of your engine. The enhanced protection of synthetic oil far outweighs the expense.
On the topic of the break-in period. This is not a joke, Your newly-rebuilt engine needs time to hone, harden, and acclimate internal parts. With a new rebuild, fine pieces of metal and debris can collect in the oil, to avoid any issues CHANGE THE OIL as recommended in the break-in instructions. You should also check the oil for possible impending break-in issues. The most obvious issues indicating there may be a forthcoming problem are burning oil and excessive debris in the oil pan.
 Also, check your fluid levels at least once a week for the first few months, and correct them as needed. Engine fluids can be absorbed as they work themselves into the internal tubes and channels.
If you have excessive fluid loss of any kind, check with a mechanic immediately. This is most likely covered under your warranty, so don’t wait or brush it off.
When you start your car up, outside the garage, ready to drive off… DON’T. If the mechanic says they have not performed an initial, stationary break-in, you should do it yourself in the parking lot. Simply allow your engine to run for at least 20 minutes. Vary the RPMs of the engine from idle to halfway to the red line.
All of these steps allow your cam, lifters, rings, seals, and bearings time to “shake hands” properly.
Remember, do not over-rev your engine. The first 1,000 miles is not the time to race anyone, i.e. redline the RPMs.
You’ve made all the right decisions in buying a Fraser Engine Co. remanufactured engine and finding and communicating with a reputable garage for the surgery. Don’t blow it by blowing it.
We wish you the best motoring experience!

Party On! in Garth’s famous 1976 AMC Pacer, the Mirthmobile In 1992 Wayne’s World took theaters by storm. This is the story of the unsung

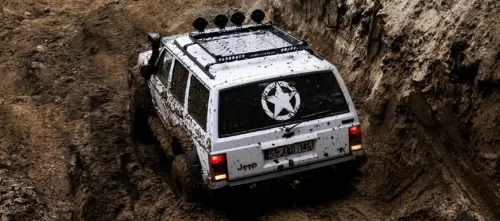
When you’re in the market for a rugged, reliable car that can take you from city streets to off-road adventures without missing a beat, the

88 Bad-Ass Custom Vehicles, Half of Which Were Destroyed This Award-Winning Film Took Action To A New Level with All Real Stunts Mad Max: Fury

Badass by design, this Autobot is a six-wheel fire-fighting titan in real life Sentinel Prime draws his power from a Rosenbauer America Panther 6×6 Fire

In production from 1986 to 1995, the Jeep YJ is the first generation of the Jeep Wrangler series. It succeeds the earlier Jeep CJ (Civilian

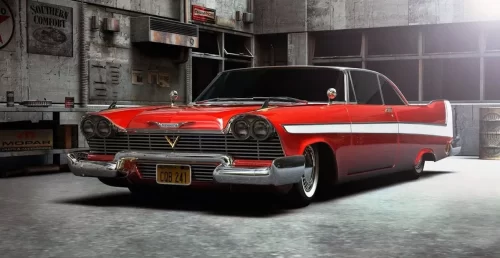
She’ll love you, possess you, and then destroy you. Enjoy this first installment of “Scary Cars”, our October series Set in 1978, Christine chronicles how a possessed